5 Tip for Better Portraits (Even With Your Phone)

When photographing our friends and family (even with your phone), there are some simple rules that you can follow to help make your photos stand out. 1 – Don’t Let Thing’s “Grow” from People One of the more common mistakes I see in photographs of people are objects like telephone poles or trees “growing” out of people heads. Being aware of your background is crucial to any photograph, ones of your friends or family are not exempt from this rule. When taking pictures of people we often get lost in trying to get everybody in the shot, ignoring the background entirely. Now that you are looking at your background, try and find a placement that a tree looks like it is taking root in the ground rather than your friends head. 2 – Try Indirect Lighting Sunlight can appear very harsh in a portrait, especially if there are heavy shadows in your image. Try placing your subject(s) under a tree or an awning. This will help even out the lighting on your subject and depending on how bright the scene behind you (the photographer) you may even have a catch light in the eye. If you photograph closer to sunrise or sunset during the time known as the golden hour, the difference from light to shadow is less intense. 3 – Avoid Having Your Subject Looking Into the Sun As an instinct, I think people generally want to put a whole bunch of light on their subject. Having everyone in your shot squinting into the sun doesn’t result in a good image, nor is it a pleasant experience for you subjects. If possible, try the above step, but if you are in a wide open area and can’t get to cover to help diffuse the light, try turning your subject to the side a bit. Both your image and your subject will be better off for it! 4 – Make Sure Your Subject Doesn’t Get Lost in the Scene Unless you are trying to capture the grandeur of a landscape with your subject included in the scene, move in on your him/her and eliminate a lot of the background. Having a person or even a few floating in the middle of the frame isn’t doing anyone any favors. 5 – Shoot for People’s Personality In a portrait you are photographing a person not an inanimate object, make sure your image reflects that. Rather than starchy poses and unnatural body positions, let your subjects be themselves in your images. Of course if you are trying to achieve a formal portrait of your family, this might not be the best advice to follow, but otherwise let the people in your image show who they are. Not only will they be more willing to stand in front of your camera more often, but the images will evoke more memories of the way people are rather than just what they look like.
In The Rear View: Death Valley By Night (mostly) 2018
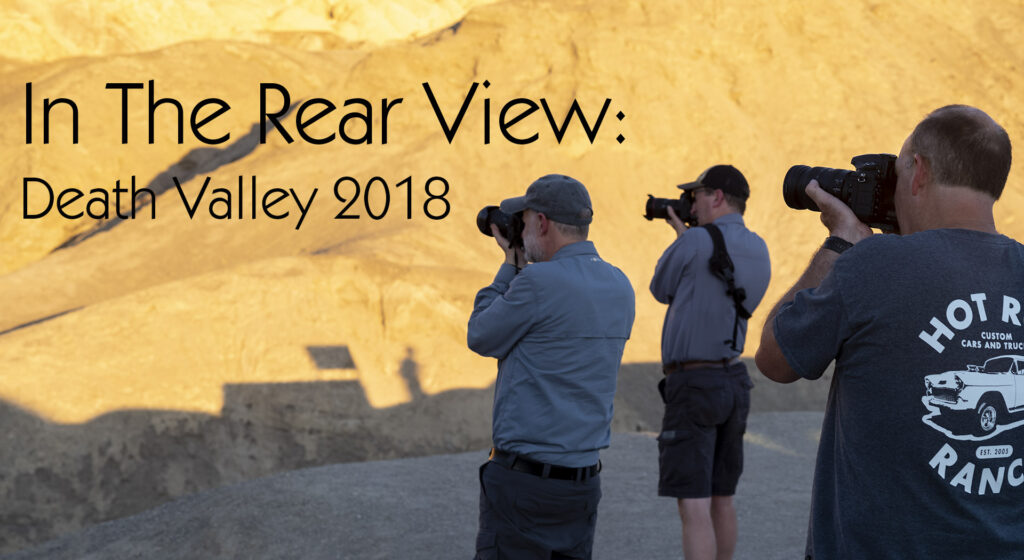
Some Like It Hot Death Valley is not known for its moderate climate. The name kind of says it all. Death Valley IS however known for its dark skies and otherworldly landscapes. Normally when I bring a workshop here, it is in springtime before the heat really starts to turn up. The high in April is usually in the low 90s (33C) with our night shooting happening at a more comfortable 70ish degrees (20c). When the temperatures are low we have perfect conditions to use the crescent moon to illuminate the foreground of our landscapes. The problem being though, if you want Milky Way shots, you have to be up around 4-5 in the morning and the moon has already set, leaving the foreground a blank void or something you have to paint in. Scorching The Milky Way This year I decided to focus the trip on the Milky Way. I still like a very small crescent moon to help illuminate the foreground, but not enough to overpower the stars that we are trying to capture. Unfortunately, that means to have the proper conditions in Death Valley for this, we would have to be there at the beginning of September. The average high this time of year is 108F (42C) with a low usually falling at around 90F (32C). Keep in mind too that the low hits just before sunrise. This year, however, Mother Nature decided that wasn’t enough. We ended up with highs hovering around 115F (46C). Our post-sunset shooting experiences were still in the neighborhood of 100F (38C). After the sun isn’t shining directly on you, these temperatures are much more manageable, but still something that can take a lot out of you. Temperatures aside, the weather decided to play along. Heading To The Hills With sandstorms working their way through Death Valley the first night, we headed out of the park to a close by ghost town with some more favorable shooting conditions. Here we got a handle on how to take an exposure at night and did a little painting with light to round out the evening. On the way back into the park we decided to stop at the entrance sign and take a group shot. With a 30 second exposure and a quick streak of a Maglite we were able to take an appropriately ghostly group shot in front of the Death Valley sign. Braving The Heat For our second evening, we headed up to the mountains where the temperatures can be up to 40 degrees cooler than on the ground. The cooler temperatures combined with a micro-climate formed by the converging mountains make this a great area to find wildlife at the park. There is a spring that has formed in the road and become an area where road runners will squat and hunt dragonflies as they swarm around the thinning water source. Between these little guys and the jackrabbits and cottontails hopping around, there were plenty of things to keep us busy until the sun had set and the heat in the valley below dropped to a nice cool 100F (38C). After we made our way back down, we headed to the Mesquite Flats sand dunes for the night. We had these amazing tubes of clouds flowing through the sky giving some depth to the Milky Way behind. A Salty Conclusion On our last night, we head down to the area in Death Valley that contains most of the salt flats. Unfortunately, the hexagonal patterns that people often want in their photos have long been trampled by this time of year. There are other areas though with unique formations of salt to play within Death Valley – one such place is Devil’s Golf Course. When the early travelers first set eyes upon these tortured grounds, the first thought was, “Only the Devil could play golf here,” naturally. After playing some golf with the devil, we headed up to Zabriskie Point to finish out the shooting experience of this years workshop. This is one of the parks quintessential landscapes. At sunset, there will be a full parking lot and a viewpoint full of tourists. After the sun sets and the moon takes command of the sky, we were the only people there until we left for the night. The badlands below always make for some great subject matter. Returning To Sanity After our last night of shooting, we meet up in the morning for an edit and critique session. Here we look at a few of everyone’s favorite shots and talk about what works with them and what can be improved. Not only are we looking at things that can be done at the time of shooting, but the way the file has been edited too. When I am in the field I am working my butt off trying to get as much information crammed into my sensor as possible. Once I’m back on the computer it is my job to massage out all of the information in the file to create the image I had intended. Once we have a chance to see how people are editing their files, a better picture of what needs to be worked on materializes. Next years workshop will be returning to the moderate heat that April offers. The milky way won’t be the focus next year, but that doesn’t make the landscape of Death Valley any less magical. For more information about next years workshop, click here.
Playing With Dolls (and your camera)
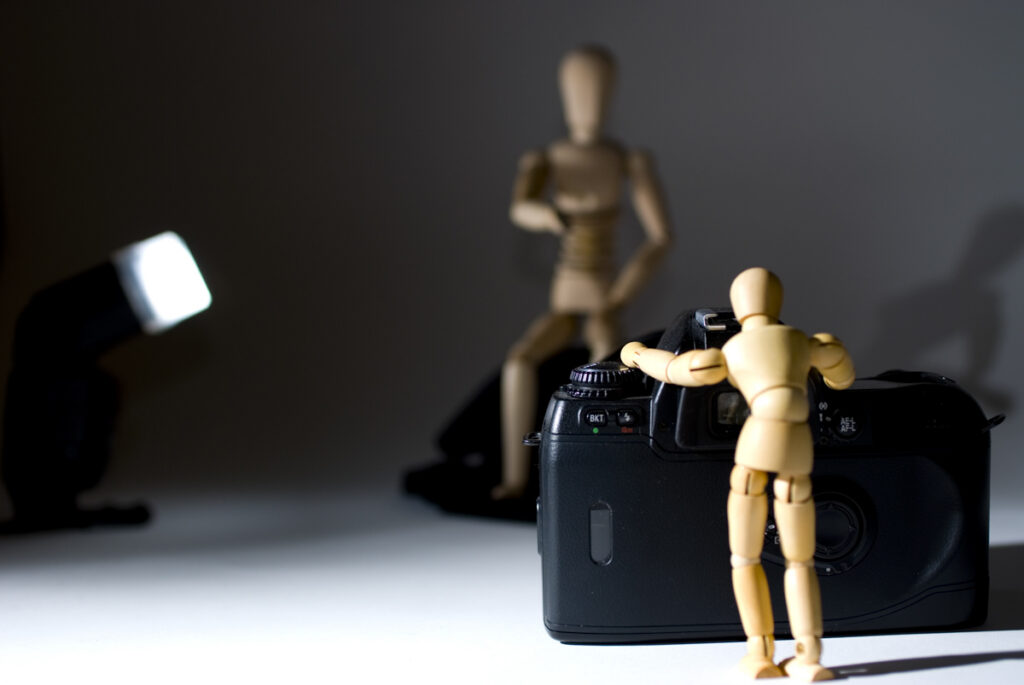
A Creative Way To Improve Your Photography Time For The Toys A lot of you might already have some dolls or action figures (aka dolls for boys) laying around the house from your children. If not, a couple of artist figures (aka dolls for adults) like I have here can be picked up for under $20 and have endless possibilities. The only limit is your imagination. This is an activity for everyone that not only can help with your ability to frame an image to help tell a story but it’s something that can be done with anything from a phone to an interchangeable lens camera. Whether you are using the lights around your house, window light or an off-camera flash system, there are lots of creative ways to make an image. Try starting off simple and building from there. After you’ve started the creative juices flowing, it’s time to pull out a couple of props. This doesn’t need to be anything crazy, just things you find around the house will do. It’s pretty amazing though what miniature things you can find to play with your do…ahem, excuse me, practice photography with. I ended up creating scenes where everything in it except for the figures were edible. As long as you do this on a clean surface you can still eat everything too! If you have a yard or a garden, you could really have some fun.