Seeing Light at Night
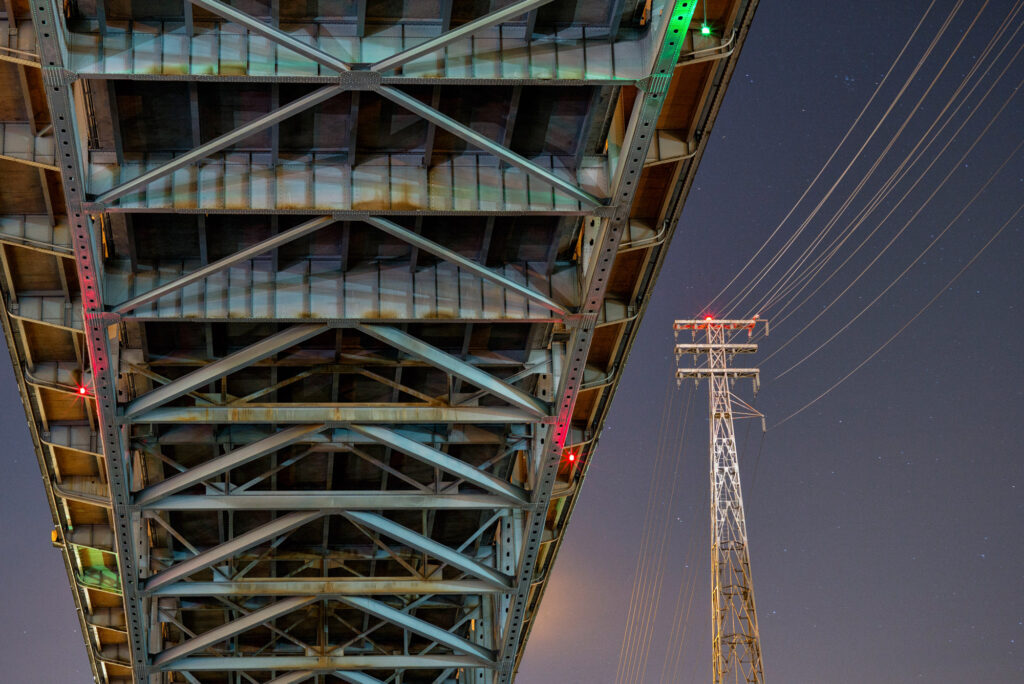
Just because the sun has gone down doesn’t mean its time to put the camera away Whether I’m out in nature or wandering a city, I am just as likely to be spotted with my camera and tripod close by at night as I am by day. Not only do you tend to have places that by day might have hundreds if not thousands of people roaming around and taking similar photographs to yours, you also have an opportunity to see and capture light differently than most people ever will. After all, no matter what time it is you are creating an image; you are only capturing how the light falls on your subject. In fact the word photography literally means to draw or write with light. At night subtleties of light and color are much more pronounced and the dynamic range of your scene (the difference from bright to dark areas) can be closer than daytime creating a surreal look that leaves your viewer captivated and often a little confused at the image they are presented with. Both of these images were taken at the same location a couple of days apart, and there is a dramatically different look to the same subject matter. In both images, the moon assumes a roll like the sun would in a daytime landscape. In the image above, clouds add to a sunset like effect and soften the light falling on the foreground. Only when the eye travels towards the stars in the upper portion of the image does it become clear that this photograph was taken at night. In the image to the left, a mid to high aperture setting (in this case f8) creates the starburst exploding from the moon giving it a sun-like appearance. With no real cloud cover to speak of, the harsher less diffused light on the foreground creates much more contrast with the shadows giving a pronounced separation to the canyons and valleys. In an urban environment, you have even more to consider Here the moon phase won’t make as big of an impact as the differing colors of light present in a city. If you take a close look at the streetlights around at night, you will see ranges of yellows and oranges to more white and even greenish lights. Sometimes you have cloud cover to reflect the city’s ambient light and other times on a cloudless with nothing to bounce light back towards your lens you’re left with a black void behind your subject. All of these elements will play into your final image. The surrounding lights are casting a blue hue on some of the steel supports for the highway above while the other side is bathed in a warm yellow that contrasts against the blue. The red and green lights on the bridge and tower still have fine star points despite the lens being shot wide open. Had I used a higher aperture they would be even more defined. Those same red and green lights add all sorts of colored accents to shadows under the bridge. The high-tension wire’s frame is illuminated by the orange sodium vapor lights on the highway along with the more white headlights of the oncoming cars traveling above. This creates brighter spot that draws the eye to a simpler counterpart to balance the busy subject matter of the bridge. During day, this bridge and these power lines look just like that, a bridge and power lines. After the sun has set, this bridge scene explodes with color and subtleties that can only be captured at night. The direction of light and shadow Like daytime, at night the direction of light plays into the mood you are trying to create for the viewer as well. In the image on the left an aperture of f7.1 was used to turn the moon into a sun-like burst between the Moai of Easter Island. Over the 20 seconds this image took to expose quick moving clouds pass to create a streaky look. By exposing for more of the clouds than anything else in the image, the ancient statues take on a mysterious silhouette in front of the wispy clouds. At the top of the image the pinpoints of stars bring a motionless balance to the Moai. By opening my aperture to f4, raising the ISO a bit and placing my light source (the moon) at my back, the same subject takes on a very different feel. Now the details of the statues become visible along with the foreground and stars. With the same shutter speed of 20 seconds, the clouds keep their wispy character.
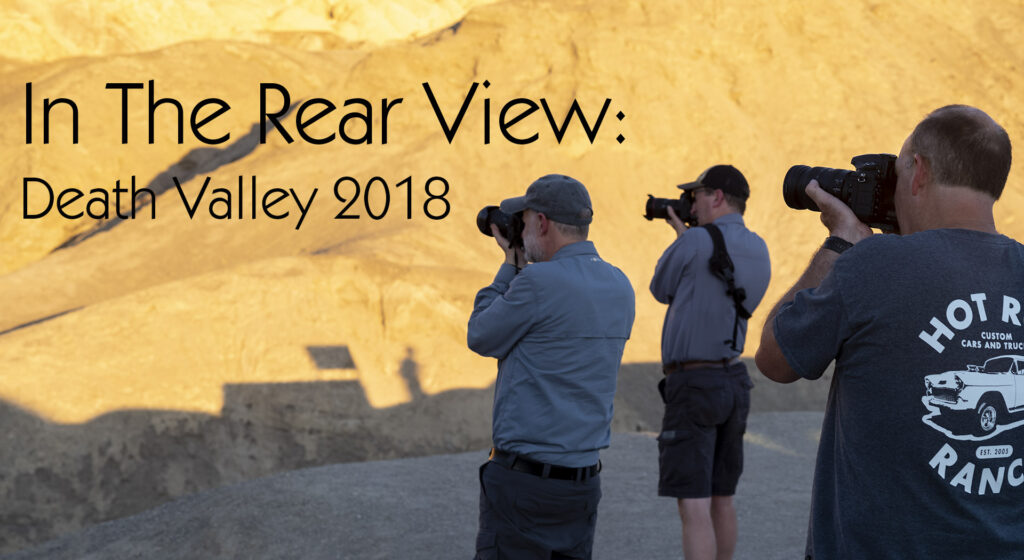
In The Rear View: Death Valley By Night (mostly) 2018
Some Like It Hot Death Valley is not known for its moderate climate. The name kind of says it all. Death Valley IS however known for its dark skies and otherworldly landscapes. Normally when I bring a workshop here, it is in springtime before the heat really starts to turn up. The high in April is usually in the low 90s (33C) with our night shooting happening at a more comfortable 70ish degrees (20c). When the temperatures are low we have perfect conditions to use the crescent moon to illuminate the foreground of our landscapes. The problem being though, if you want Milky Way shots, you have to be up around 4-5 in the morning and the moon has already set, leaving the foreground a blank void or something you have to paint in. Scorching The Milky Way This year I decided to focus the trip on the Milky Way. I still like a very small crescent moon to help illuminate the foreground, but not enough to overpower the stars that we are trying to capture. Unfortunately, that means to have the proper conditions in Death Valley for this, we would have to be there at the beginning of September. The average high this time of year is 108F (42C) with a low usually falling at around 90F (32C). Keep in mind too that the low hits just before sunrise. This year, however, Mother Nature decided that wasn’t enough. We ended up with highs hovering around 115F (46C). Our post-sunset shooting experiences were still in the neighborhood of 100F (38C). After the sun isn’t shining directly on you, these temperatures are much more manageable, but still something that can take a lot out of you. Temperatures aside, the weather decided to play along. Heading To The Hills With sandstorms working their way through Death Valley the first night, we headed out of the park to a close by ghost town with some more favorable shooting conditions. Here we got a handle on how to take an exposure at night and did a little painting with light to round out the evening. On the way back into the park we decided to stop at the entrance sign and take a group shot. With a 30 second exposure and a quick streak of a Maglite we were able to take an appropriately ghostly group shot in front of the Death Valley sign. Braving The Heat For our second evening, we headed up to the mountains where the temperatures can be up to 40 degrees cooler than on the ground. The cooler temperatures combined with a micro-climate formed by the converging mountains make this a great area to find wildlife at the park. There is a spring that has formed in the road and become an area where road runners will squat and hunt dragonflies as they swarm around the thinning water source. Between these little guys and the jackrabbits and cottontails hopping around, there were plenty of things to keep us busy until the sun had set and the heat in the valley below dropped to a nice cool 100F (38C). After we made our way back down, we headed to the Mesquite Flats sand dunes for the night. We had these amazing tubes of clouds flowing through the sky giving some depth to the Milky Way behind. A Salty Conclusion On our last night, we head down to the area in Death Valley that contains most of the salt flats. Unfortunately, the hexagonal patterns that people often want in their photos have long been trampled by this time of year. There are other areas though with unique formations of salt to play within Death Valley – one such place is Devil’s Golf Course. When the early travelers first set eyes upon these tortured grounds, the first thought was, “Only the Devil could play golf here,” naturally. After playing some golf with the devil, we headed up to Zabriskie Point to finish out the shooting experience of this years workshop. This is one of the parks quintessential landscapes. At sunset, there will be a full parking lot and a viewpoint full of tourists. After the sun sets and the moon takes command of the sky, we were the only people there until we left for the night. The badlands below always make for some great subject matter. Returning To Sanity After our last night of shooting, we meet up in the morning for an edit and critique session. Here we look at a few of everyone’s favorite shots and talk about what works with them and what can be improved. Not only are we looking at things that can be done at the time of shooting, but the way the file has been edited too. When I am in the field I am working my butt off trying to get as much information crammed into my sensor as possible. Once I’m back on the computer it is my job to massage out all of the information in the file to create the image I had intended. Once we have a chance to see how people are editing their files, a better picture of what needs to be worked on materializes. Next years workshop will be returning to the moderate heat that April offers. The milky way won’t be the focus next year, but that doesn’t make the landscape of Death Valley any less magical. For more information about next years workshop, click here.